Missing/Incomplete Assignments:
- Darnell – Silhouette Self-Portrait, Silhouette Self-Portrait Artist Statement, Multiple Mes, Multiple Mes Artist Statement
- Antonio – Silhouette Self-Portrait, Silhouette Self-Portrait Artist Statement, Multiple Mes, Multiple Mes Artist Statement
- Lamya – Multiple Mes Artist Statement
- Daneisha – Multiple Mes Artist Statement
- Tyree – Multiple Mes Artist Statement
- Alicia – Multiple Mes, Multiple Mes Artist Statement, Silhouette Self Portrait Artist Statement
- Alexis – Multiple Mes, Multiple Mes Artist Statement
- Jessie – Silhouette Self-Portrait, Silhouette Self-Portrait Artist Statement, Multiple Mes, Multiple Mes Artist Statement
Today’s essential question: Why is it more important to find images taken from the correct angle vs images that contain the correct colors?
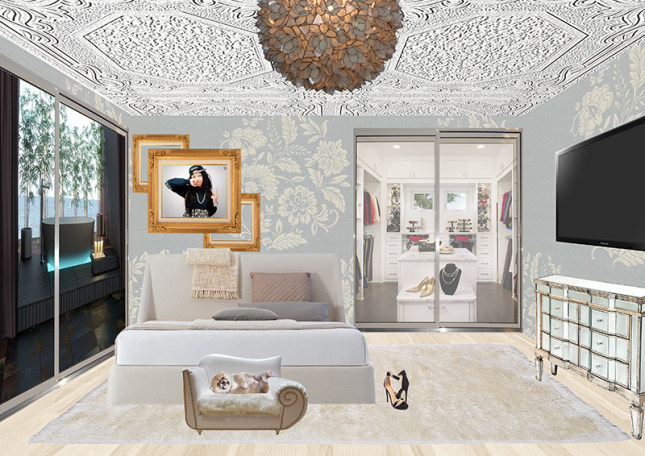
Today we will learn several tips & tricks that will help with our room design project.
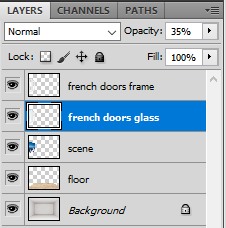
We will download very large images (at least 2MP) and remove the images from their backgrounds. We will save these files as PNGs so the backgrounds remain transparent and upload them to both our blogs and Google Drives.
Angle of View
When downloading images, consider the point of view from which the image was chosen.
For example, this couch would look great against the back wall:

while this couch would work better against a side wall:

If you have to choose between an image that is your ideal color, or one that has been taken from the perfect angle, choose the perfect angle. Trying to fake the perfect angle with Photoshop’s perspective tool will give you something like this (notice how we should be able to see the side of the armrest):

Changing Color
On the other hand, it is very easy to change the color of an object in Photoshop.
In the example below, I will change the color of the couch:

Duplicate the couch onto a new layer (Layer->Duplicate layer) and use the eraser tool until only the part whose color you wish to change remains.
Then go to Image -> Adjustments -> Hue/Saturation and adjust the sliders until you are happy with the result.

See how well that works?

Adding Color
Hue/Saturation will not work for anything that is white, gray, or black, since those colors are desaturated and technically have no hue.
Luckily, it is very simple to add color to a neutral object.
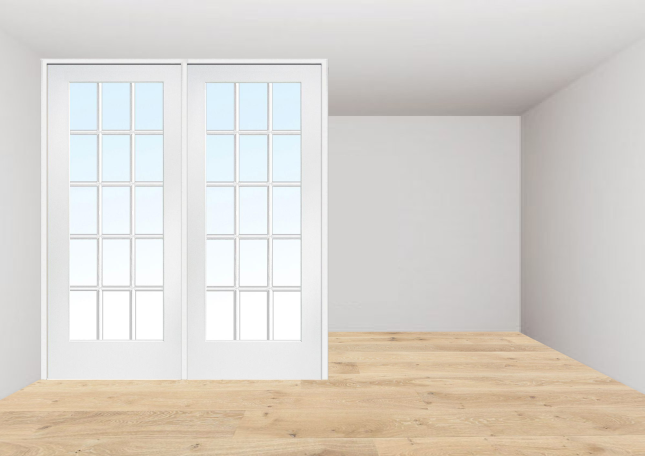
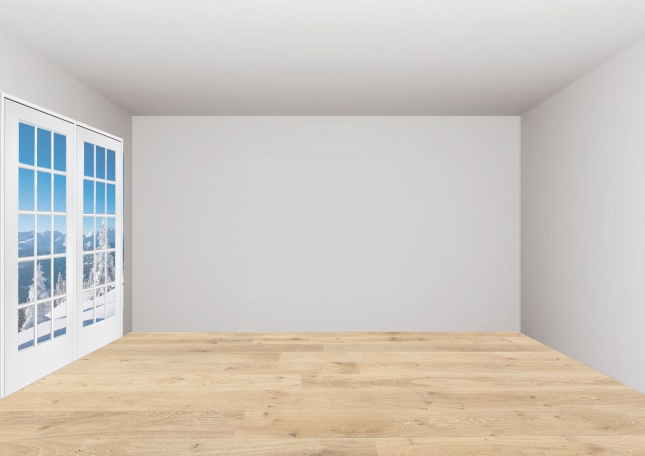
We will paint the white walls in the image below using the Color Balance effect:

Duplicate the layer with your object and use the eraser tool until only the part whose color you wish to change remains.
Then go to Image -> Adjustments -> Color Balance and adjust the sliders until you are happy with the result.

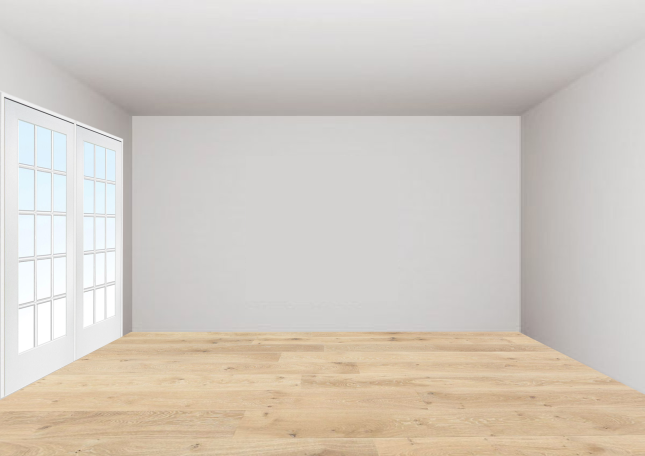
In this case, I have dragged the cyan slider as far as it will go, but the wall colors are not as intense as I would like them to be:

In such a case, we may need to apply the Color Balance effect more than once.
Simply hit “OK,” then go to the top of the screen, and once again go to Image -> Adjustments -> Color Balance:
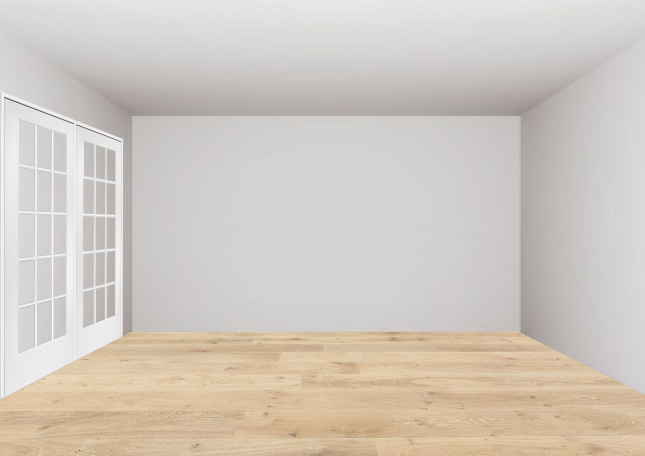
This is what the walls look like after a second round:

Today we will:
- Remove the backgrounds from any images we may want to include in our rooms.
- Save these images as both PSDs and PNGs and upload them to our shared Google Drive folders.
- Adjust the color of any objects (if necessary)
- DO NOT TRY TO BUILD YOUR ROOM. This will force you to save your images with their backgrounds removed in separate files.
- Create a new blog post with the following:
- PNGs of any images whose backgrounds you removed today or whose colors you changed.
- A few sentences describing what is going well as well, what your next steps will be, and what you are finding challenging.
 There was an overwhelmingly positive response to your work and our Media program at the state conference. We have one of the strongest Media programs in the state thanks to your hard work. That being said, less than half the class finished the room design. Since even a few people who finished expressed the desire for another day to add more details, I will give you time to finish your projects and write your artist statements today. Make sure you also share your finished room file with me in Google Drive.


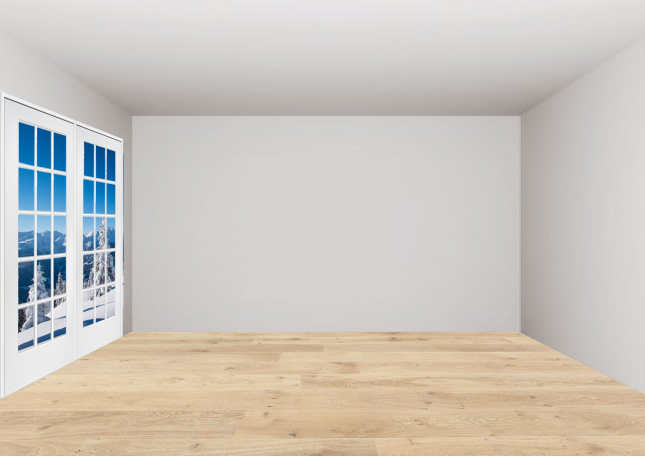
 and your walls should now look like this: