New Project: Hero Collage

Today’s essential question: How can I use Photopea to create a digital collage honoring someone I consider a hero or role model?

Today we will start our next project. We will create a digital collage honoring someone that we consider a role model or hero. It can be a famous person or someone you know in real life. You will brainstorm a list of characteristics that you admire about this person, and then download images of plants that symbolize those characteristics. 

Featured Artist: Broobs

Self-Portrait

Broobs Marquez is a digital collage artist. His work is heavily influenced by botanical elements and nature. He strives to meld the past and present through his use of color, shape and subject matter. Marquez exhibits an interest in bringing visibility to queer artists and queer activists and uses his following to educate and illuminate champions of the queer community. Many of his artworks feature individuals who have been marginalized, and in some cases, killed, because of their activism for the LGBT, black, and Latinx communities.


In an interview with Adolescent’s online publication, Broobs talks about why he chooses to work this way:

“It’s really hard work, I’ll be honest. It’s all very emotionally charged. It comes from a place of me wanting to understand why these things even happen—trying to process all these deaths, and trying to understand what death even is. 

In a lot of ways, it’s to combat what I know the media is going to do in the long run, which is vilify them for existing in this world. Whether it be owning a gun, or having traces of marijuana in their system, or some other kind of drug. It’s what they always do with people who suffer police brutality. They always try to vilify them, and try to—in a lot of ways—make it okay that they were killed, by making them out to be quote-unquote ‘bad people.’ 

I feel like that’s what my work does as well. It shines light on them, and almost doesn’t make you question that their life was holy, or valuable. It just makes you see them in that light. “

Project Requirements:

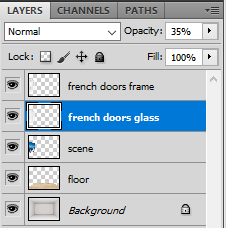
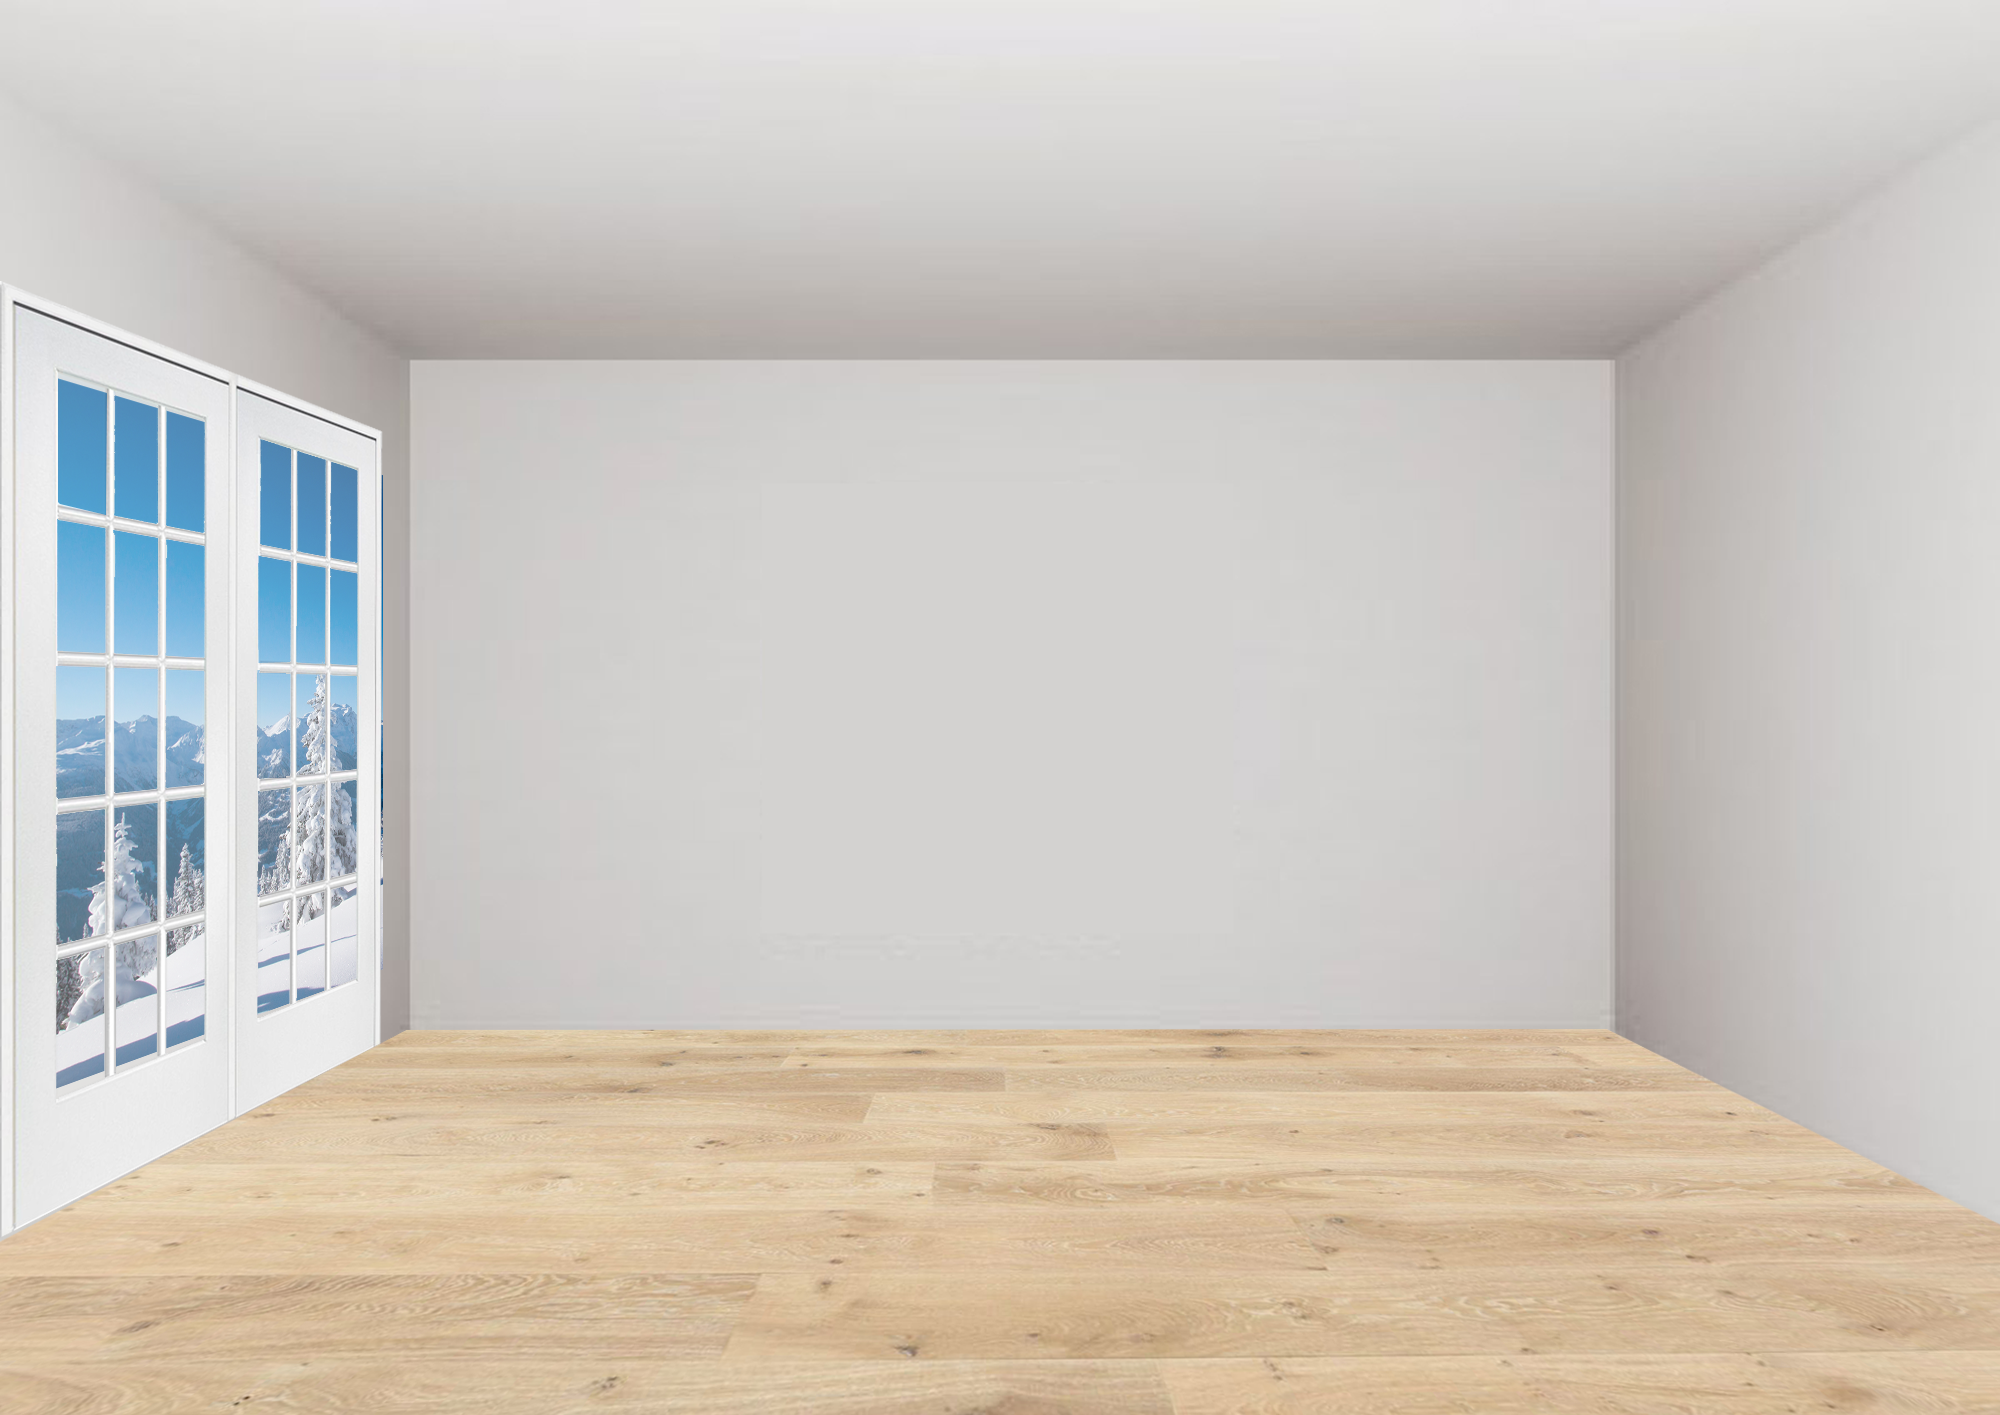
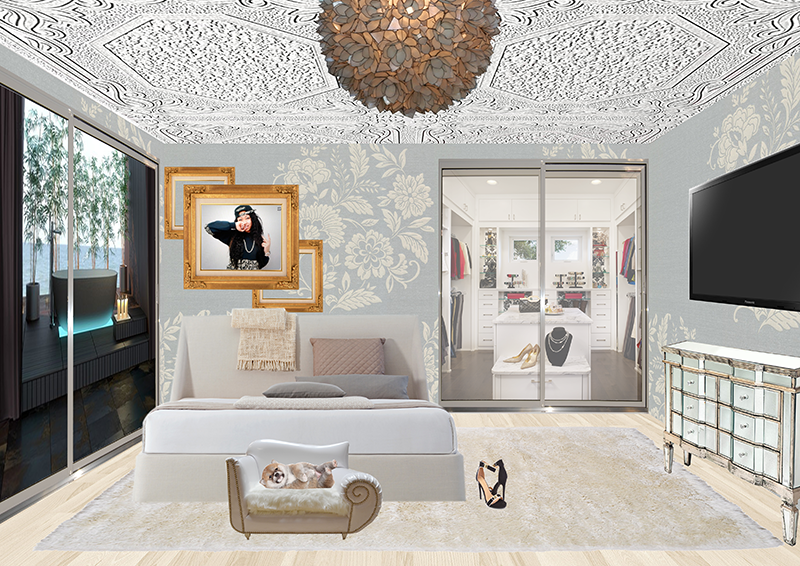
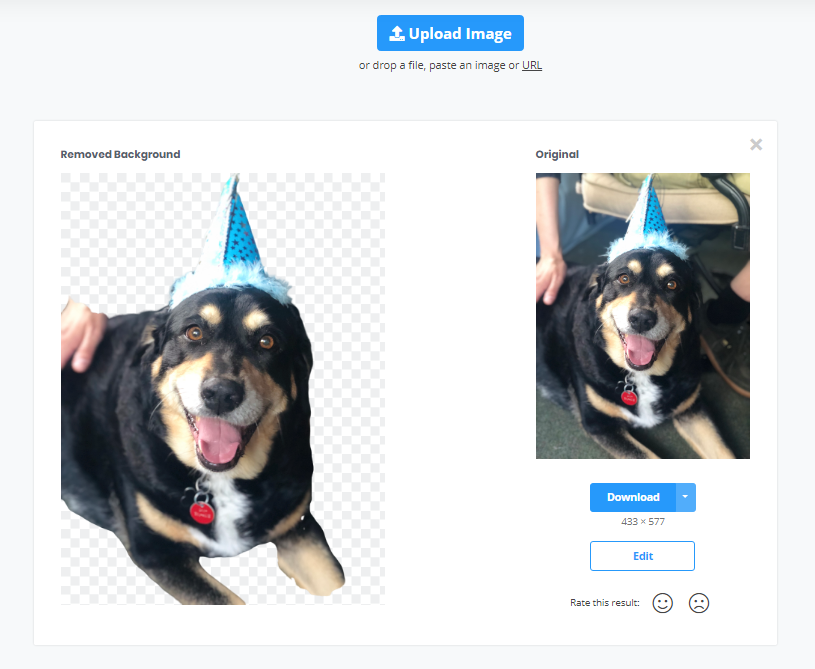
  • Created in Photopea/Photoshop from at least 20 images (at least 5 different images that can be repeated)
  • Includes a photo of someone you consider a hero
  • Includes objects that symbolize characteristics that you admire about this person
  • Objects photos have been altered using filters to create a cohesive style
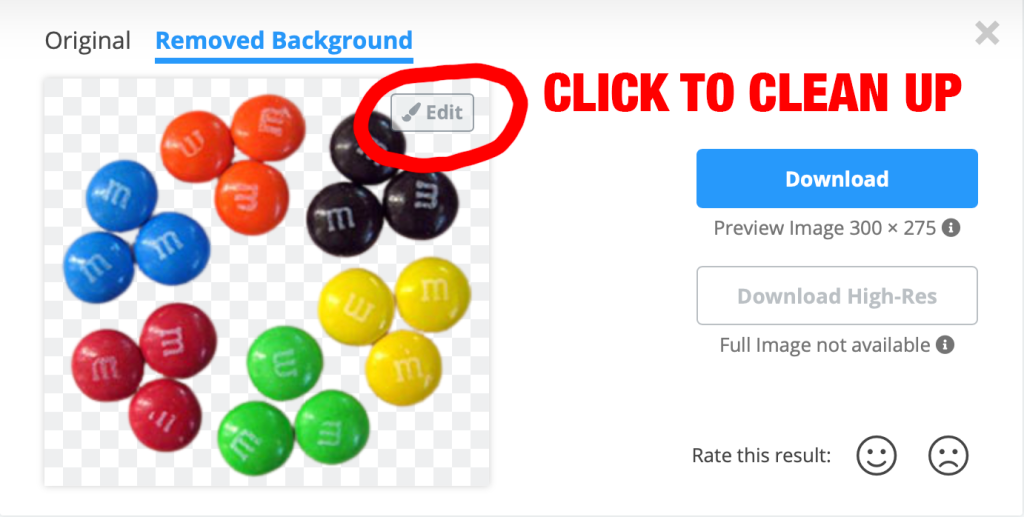
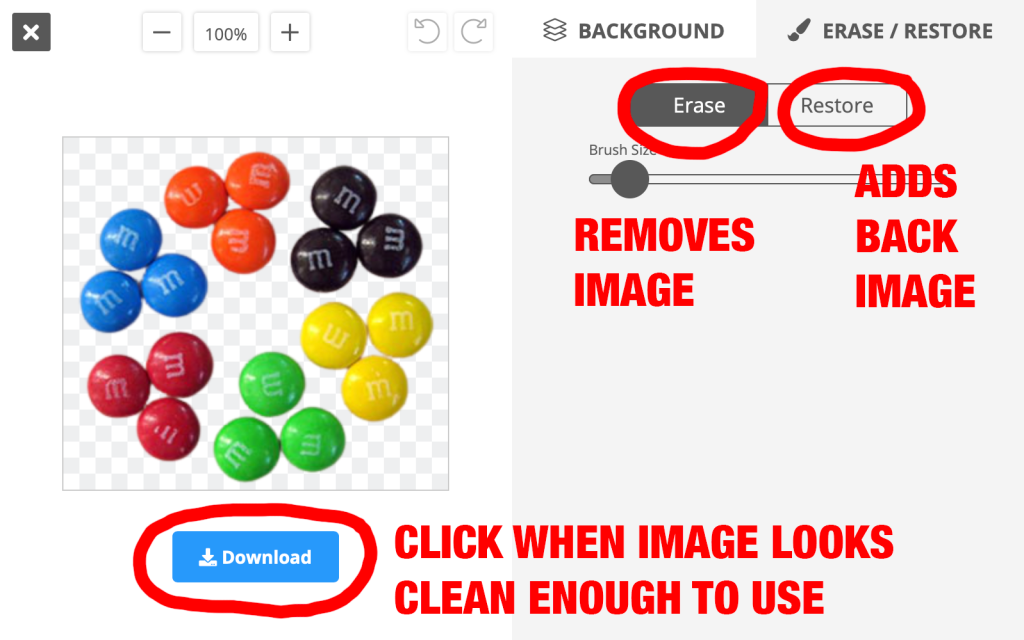
  • Good craftsmanship – backgrounds have been neatly removed, objects are not pixelated or distorted

Creating Unity

Today’s essential question: How can I create unity throughout my room?

Unity is when the different parts of an artwork go together to create a cohesive feel. It happens when you repeat similar objects throughout the piece. In interior design, this means using objects of a similar style, texture, form, or color.

Here are some examples of student work from this class that show unity:

1 Pt Perspective & the Vanishing Point

Today’s essential question: How can I use the vanishing point and orthogonal lines to help create realistic perspective in my room design?

One Point Perspective, Orthogonal Lines, and the Vanishing Point

We are using something called One Point Perspective to make our rooms look realistic. In one point perspective, everything appears to converge at a point in the distance known as a vanishing point. The objects in a one point perspective drawing utilize orthogonal lines (shown in blue) that converge at the vanishing point:

When a one point perspective image appears off, it is usually because the orthogonal lines are not properly converging at the vanishing point, like the example below:

See how this second example looks more realistic because the objects are properly converging at the vanishing point?

Advanced Technique: Furniture Surgery

If you are having trouble getting an object to look like it is realistically in the room, you may need to either perform surgery on the object (like my example below) or find a photo taken from a different angle.

This couch does not look like it belongs in this room, regardless of how I transform it using the scale, perspective, and distort tools. This is because I can either get the orthogonal lines to line up with the vanishing point OR I can get the bottom of the arm rest to be flat with the floor, but I can’t get both to happen, which is what we need for the couch to fit realistically:

After getting the orthogonal lines to converge at the vanishing point, I duplicated the couch and hid the original couch layer. On my duplicate couch layer, I erased everything but the arm rest. I then used the distort feature to make the bottom of the arm rest line up with the floor:

Now when I make the original couch layer visible, it looks like the couch actually fits in the room:

Thank you Photoshop magic!

Interior Design Day 3: Adding Scenic Windows

Today’s essential question: How can I add windows with a view to my room design?

Today we will learn how to add windows (and any scene we desire behind those windows) to our room.

How to Add Scenic Windows to a Room

  1. Open your window image and drag it into your room file:
    window_no_perspective
  2. Adjust the perspective of the window with the scale and distort tools (Edit -> Transform -> Scale, and Edit -> Transform -> Distort)
    window_perspective
  3. Duplicate the Layer (Layer -> Duplicate Layer). Hide the lower duplicated layer by clicking on the eye in the layer palette.
    layers_palette1
  4. Remove the inside of the window with the tool of your choice:
    window_inside_removed
  5. Open the scene you would like to go in your window.
    Drag the scenic image into your room file.
    Make sure the scene layer is below the windows layer in your layers palette:
    scene_no_perspective
  6. Adjust the perspective of the scene so it matches the perspective of the window with the scale and distort tools
    (Edit -> Transform -> Scale, and Edit -> Transform -> Distort)
    Remove any part of the scenic image that does not belong in the window with the Photoshop tool of your choice:
    scene_perspective
  7. Make the lower window layer visible in the layers palette and select it so it turns blue:
    final_layers_palette
  8. Adjust the opacity so the glass looks see through:
    windows_with_glass

This technique also works for doorways, closets, trophy cases, etc:

serena_room_small

Today we will:

  • Continue working on our rooms
  • Save our room files as both a Photoshop (.PSD) file and PNG
  • Upload both the .PSD and .PNG files to our shared Google Drive folders
  • Upload a PNG of our progress to the Google Classroom Assignment

Interior Design Day 3: Adjusting Perspective to Add Texture to Floors and Walls

Today’s essential question: How can I use various features in the transform tool (perspective, distort, scale) to add detail to my floor and walls?

Today we will download the blank room source file from Google Classroom and begin building our rooms in Photopea.

How to Add a Texture to Your Floor Using the Perspective Tool

  1. Open your “Empty_Room_Source_File” in Photopea.
  2. Add the floor. File -> Open & Place. Then upload the floor texture of your choice.
    hardwood_floor1
  3. Edit-> Transform -> Scale. Scale your floor so it fills the space below where the floor meets the wall. (This is one time that it is ok not to hold down shift, because distorting the dimensions of the floor texture in this step might actually make it look more realistic later.)
    hardwood_floor2
  4. Edit -> Transform -> Perspective.
    Drag the front corners of the floor outward to transform your floor so it has the correct dimensions.
    hardwood_floor3
  5. If your floor still feels a bit off, you can adjust individual points by going to Edit -> Transform -> Distort.

How to Add a Texture to Your Walls Using the Perspective Tool

You can use these same tools to add texture to the wall.

  1. Drag your wall texture image into the room file and use the perspective, transform, and distort tools to make it look like it fits on the wall:
    bricks1
  2. Once the first wall looks correct, you can duplicate the layer (Layer->Duplicate Layer), and flip it (Edit -> Transform -> Flip Horizontal) and then move it to the other side of the room.
    bricks2
  3. Duplicating layers will also help you fill the back wall. For example, simply scaling the image on the back wall may look strange if you force the bricks to fit the space.
    distorted_bricks
  4. However, you can scale the image to be the appropriate height (Edit -> Transform -> Scale).
    Once again, it may be ok to distort the dimensions of the image in this case.
    bricks3
    Then duplicate the layer (Layer -> Duplicate Layer).
    Flip the image so you will have a seamless tile (Edit -> Transform -> Flip Horizontal) and move the image so it connects with your other layer.
    bricks4
  5. At the bottom of your layers palette, click on the folder icon folder_icon to make a new folder.
    Name it “brick wall”.
    Drag all the brick layers into this folder. That will help keep your layers organized.
    brick_wall_layers

Further uses for the perspective/distort tools:

  • make a poster, framed picture, or mirror look like it is hanging on one of the side walls
  • add windows to one of the side walls

Today we will:

  • Begin dragging images into our room and using the perspective and distort tools to make them look like they realistically belong in the room.  Make sure you name your layers!
  • Save our image as PSD and  Export it as a PNG
  • Upload the PSD and PNGs to our shared Google Drive folders (THIS IS EXTREMELY IMPORTANT SO YOU DO NOT LOSE YOUR WORK!)
  • Upload the PNG to the Google Classroom assignment so Ms. Lawson can see your progress.

Interior Design Day 2: Removing Backgrounds with the Remove.bg App

Today’s essential question: How can I use the Remove.bg app to easily remove backgrounds from the images I want to use in my dream room?

Today will will use the Remove.bg app to remove the backgrounds from the objects we will place in our dream room. We will then put each of these images into a NEW Google Slides with the backgrounds removed.

How to Remove the Background from an Image with the Remove.bg App

  • Save the image to your computer and go to Remove.bg.
  • Click Upload Image
  • Poof – your background is gone:
RemoveBG.PNG
  • You may need to do a bit of adjusting to remove parts of the background that were missed. If so, click the Edit button:
  • Sometimes the app leaves parts of the background behind, or accidentally erases parts of the image you wanted to keep. Once you are in “Edit,” you can use the “Erase” option to remove any remaining pieces of the background, and the “Restore” option to add back parts the image that were incorrectly removed. You can drag the slider to make the eraser/restore brush bigger or smaller:
  • Once you are happy with your image, click the “Download” button to save it to your computer.

Interior Design Day 2: Finding Images taken from the correct angle

Today’s essential questions: Why is it important to find images taken from the correct angle?

Angle of View – Furniture

When downloading images, consider the point of view from which the image was chosen.
For example, this couch would look great against the back wall:
nailhead_couch_front

while this couch would work better against a side wall:
nailhead_couch_sideways

Make sure you are thinking about where in your room you want to place each piece of furniture, and download images that are taken from the correct angle. Trying to fake the perfect angle will give you something like this (notice how we should be able to see the side of the armrest):
nailhead_couch_front_distorted

Angle of View – Flooring, Artwork, Windows

Try to find images of flooring, artwork, and windows taken from straight on, so the object looks like a perfect rectangle.

This rug will be difficult to realistically fit into a space:

While this rug will enable us to distort it to just about any angle and fit any space in the room:

New Project: 1 Pt Perspective Room Design

Today’s essential question: How can I design an interesting interior space?

Interior Design Project

Today we will begin our interior design project. We will research various interior design styles and fill out a Google Slides Presentation with a “mood board” of the look we hope to achieve.

We will start with the blank room template below and turn it into an interior space of our choosing. You may want to consider, but are not limited to, spaces such as a dream bedroom or dorm room, an art studio, a coffee shop or restaurant, a music venue, or a store.

Blank room template:
empty-room-source-file

I have purposefully not provided the high-res version of the room template today to force you to spend all class on your project planning post. No one should be working in Photoshop/Pixlr today!

Here are some examples created by past SOTA students:

Project Requirements:

  • Created in Photoshop/Pixlr from the provided blank room template
  • Includes a minimum of 12 different images
  • Floor and walls have been covered with texture or altered in color
  • Contains a light source (lamp, fireplace, windows, etc)
  • Follows one point perspective
  • All objects in the room go together to create a cohesive style
  • High Quality Craftsmanship
    • No pixelation
    • Background cleanly removed
    • Images photographed from appropriate angles
    • Lighting matches up
    • Scale and proportion makes sense

Today we will

  • Research potential interior design styles we may use in our project
  • Fill out a Google Slides Presentation with a “mood board” of the look we hope to achieve