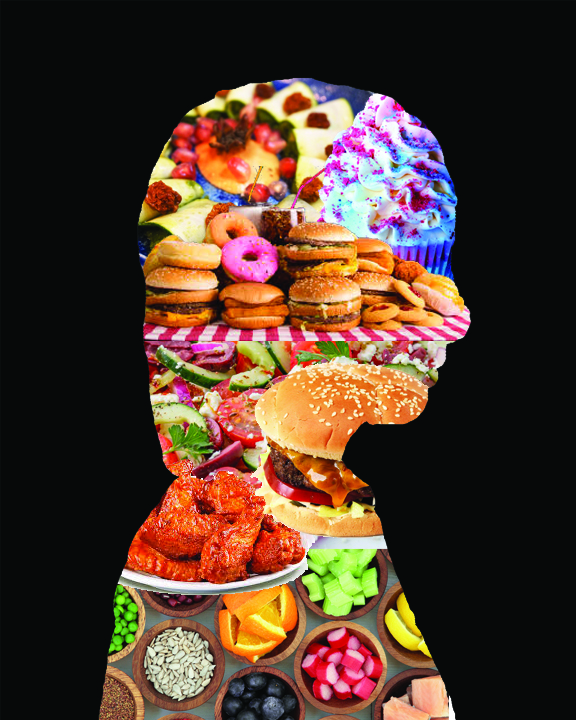
Today’s essential question: How can I create contrast between the inside of my silhouette and my background?
Today we will use the mask tool to fill in our background with an image.
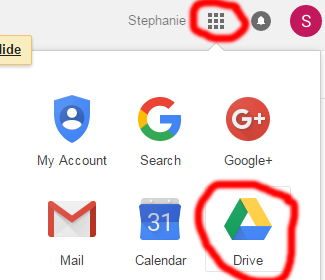
Having trouble finding large enough images?
Sign up for a free account on the Pexels website and you’ll have access to thousands of great royalty-free photos.
Next class, we will critique our near-finished projects with a partner, and then spend the rest of the class period finishing our projects and making the changes suggested by the peer critique.
How to Use the Mask Tool
- Open your project Photoshop file (the one that ends with .psd, NOT .png).
- Open whatever image you would like to fill the negative space portion of your project.
- Drag whatever image you would like to fill the negative space portion of your project into the project Photoshop file.

- If it is the wrong orientation (such as my example where it is landscape instead of portrait), rotate the image.
Edit -> Transform -> Rotate 90 CW (or CCW – your choice)

- Scale it so it fills the screen (Edit -> Free Transform). Remember to hold down the shift key and scale from the corner so you do not distort the proportions of the image. Also, do not make an image much larger – it will pixelate and look blurry when printed.

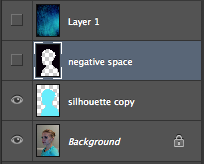
- In the layers palette on the bottom right side of the screen, click on the eye next to this layer to make it temporarily invisible.
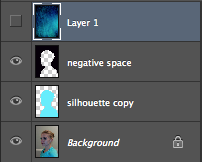
- Click on the layer titled “negative space.” It should turn blue to show it has been selected.
- Your project should now look like this (you may have images inside your silhouette):

- Select the magic wand tool form the toolbar on the left side of the screen.

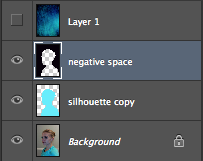
- Click on any part of the negative space layer that has been painted. It should now be outlined with dotted lines.

- In the layers palette on the bottom right side of the screen, click on the eye next to this layer to make it invisible.
 Your project should now look like this:

- Now click on the eye space next to the layer that contains the image you want to fill in your background. This will make the layer visible.

- Click on the layer itself to select it. It should turn blue.
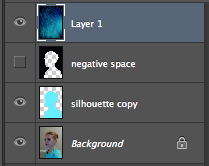
- Click on the mask tool at the bottom of the layers palette.

- This should hide everything but the background area:


Today we will:
- Learn how to use the mask tool to fill in our background with an image
- Continue working on our projects
- Save our projects as both as (Photoshop) .psd and .png, upload both files to our school Google Drives, and create a new blog post with the PNG of our progress