Stop Motion Progress

Today’s essential question: How can I create a smooth realistic animation?

Here are some animations created by students in this class:

asher_arleigh_jessie_my_stop_motion_movie-2

beatrix_nicky_my_stop_motion_movie.gif

beatrix_nicky_my_stop_motion_movie-1-1.gif

lamya_daneisha_mara_alexis_my_stop_motion_movie.gif

Today we will:

  • Continue animating our stop motion movies in the Stop Motion Studio App
  • Export the movie as a GIF
  • Upload the GIF to your school Google Drive account
  • Create a new blog post with a GIF of your progress

Stop Motion Animation Day 4: Using the StikBot Studio App

Today’s essential question: How can I create the illusion of motion through a series of pictures?

Today we will begin animating our stop motion movies in the StikBot Studio App.

The StikBot Studio App is set at a default of 10 frames per second. This means that you will need to take 200-300 photos to make your 20-30 second animation. Follow these steps from the iMore website to get started!

Getting started with StikBot Studio

  1. Download and Install StikBot Studio from the App Store. (If you are using your phone or personal tablet. StikBot Studio has already been installed on the class iPads.)
  2. Tap Open.
  3. Tap the Video Camera icon.
  4. Tap OK to allow access to the camera.

Set your scene

At this point your camera will be enables and ready to start taking photos.

  1. Set you camera on a small stable location like a tripod for best results.
  2. Set up your initial scene.
  3. Tap the red face to take your first shot.
  4. Make a small adjustment to your figure. You’ll see a ghost image of your previous position so that you get the motion “just right”.
  5. Tap the red face to take your next shot. You’ll notice that the ghost image in now gone awaiting your next stop motion movement.
  6. Continue until you have completed your scene.
  7. Once you’ve completed your scene, tap the video editor icon.

Modify your animation

Once you have your desired scene completed, you can add sound effects, dialog, text, and items from your camera roll in the video editor.

  1. Tap the new scene you’ve created.
  2. You can preview your video by tapping the play arrow.
  3. Press the pause button to stop the preview.

Exporting and sharing

Once you’ve completed your awesome animation you’re ready to save and share it!

  1. Tap the export icon.
  2. Tap YES to save your movie to the camera roll.
  3. Choose your video format.
  4. Tap OK to allow StikBot to access your photos.
  5. Tap OK once the export to camera roll is complete.
  6. Go into your Photos.
  7. Tap your movie.
  8. Tap the Share icon.
  9. Select the method your wish to share your video. For this class, you should upload it to YouTube and then post the link to your blog.

Today we will:

  • Begin animating our stop motion movies in the StikBot Studio App
  • Log in to YouTube using your school Gmail account
  • Post the animation to YouTube
  • Create a new blog post with the following:
    • A link to the video
    • The answers to the following questions:
      • Describe what is happening in your animation.
      • How did you create this animation?
      • What was easy? What was difficult?
      • What will you do differently during our next class?

Stop Motion Animation Day 2: Character & Scene Creation & Layout

Today’s essential question: How will I create my scene and characters from cut paper?

Today we will create our scenes and characters by cutting paper.
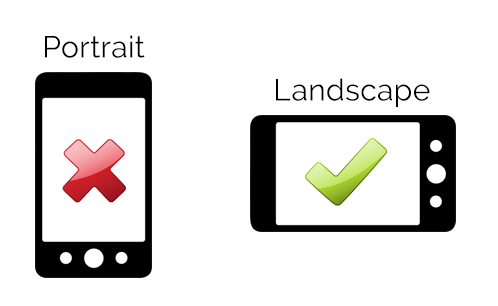
Your scene must be landscape orientation in order to work properly with the app:
landscape-vs-portrait.png

Character Design

You will need to create each moving body part as a separate shape, and certain body parts may need to be broken into several shapes that overlap, as in the example below. Why is it important to have overlapping separate shapes? Here is an example of what I am looking for:

Depending on your story, you may need to create multiple versions of the same character to show it from different angles (ie. front vs side view).

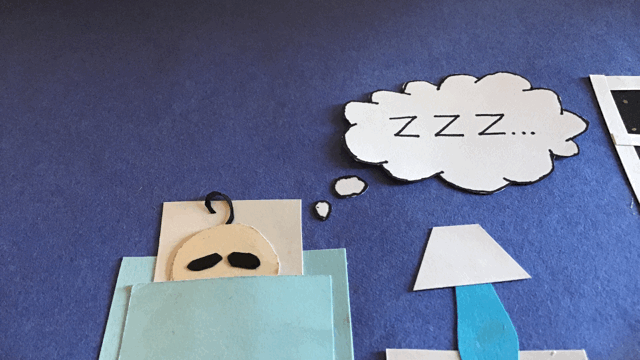
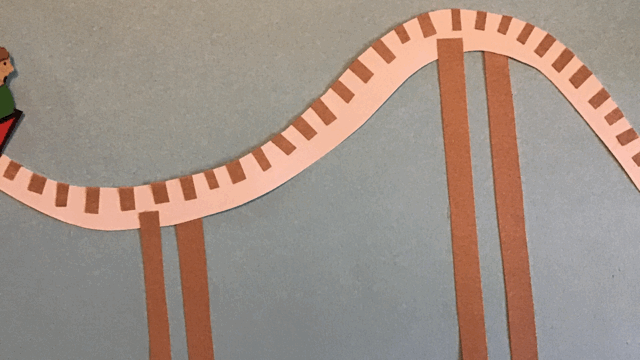
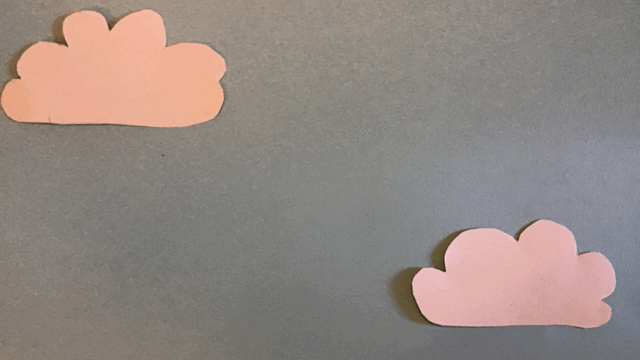
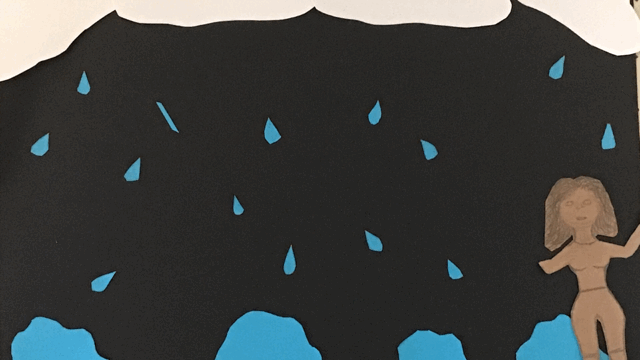
Apply these same rules when building your scene. For examples, any parts of the scene that will move (such as clouds or tree branches that sway in the wind) should be a separate shape. When in doubt, consult with Ms. Lawson before gluing anything!

You must post photos of the work you did today to your class blog in order to receive participation points.

Storage & Organization

It is important to keep your pieces organized. Use one ziploc bag per character, and a separate ziploc bag for the pieces that make up the scene. Then store all the bags in a folder with your name on it.

Today we will:

  • Create our scenes and characters by cutting paper
  • Create a new blog post with the following:
    • Photos of the work we did today
    • A few sentences describing what you created, and how you created it
  • Organize our pieces by storing them neatly in separate bags within a folder

New Project: Paper Cut Out Stop Motion Animation

Today’s essential question: How can I use a storyboard to plan out my animation?

Stop motion animation is animation that is captured one frame at time, with physical objects that are moved between frames. When you play back the sequence of images rapidly, it creates the illusion of movement.

Here are some examples of paper cut out stop motion animations:


Project Requirements:

  • Created from cut paper and filmed using StikBot Studio Pro
  • Tells a cohesive story with a clear beginning, middle, and end
  • 20-30 seconds long
  • High-quality craftsmanship
    • smooth, fluid animation
    • consistent camera angles
    • well-designed frames

Part 1: The Storyboard

“The story is king.” – Pixar

In order to have a good animation, you must start with a good story. As you plan your animation, you will sketch each key moment in the story as a key frame. You should also write a brief description of what is happening in each key frame. Here are some examples of what I am looking for in a storyboard:

Today we will:

  • Plan out our cut paper animations by filling out the storyboard packet. You must fill out BOTH the planning overview page and the storyboard page in order to receive full credit.
  • Post photos of the work we did today to our class blog