Today’s essential question: How can I set up my cereal box in Photopea?
How to Set Up Your Cereal Box in Photopea
- Download the cereal box template from Google Classroom
- Go to Photopea.com
- Click “Open from Computer”
- Open the cereal box template file (it should be in your downloads folder):


How to Change the Background Color
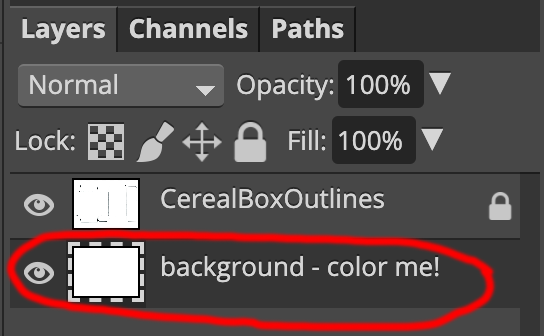
- Select the “background – color me” layer in the layers palette on the lower right side of the screen

- Double click on the color swatch
 on the lower left side of the screen. Adjust the color until you have selected the color that you would like your background to be.
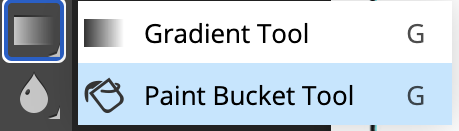
 - Click and hold on the gradient tool in the toolbar on the left side of the screen until the paint bucket pops up:

Select the paint bucket. Click anywhere on the cereal box template to paint the background.

How to Add Graphics
- Go to File -> Open and Place and begin placing your graphics:
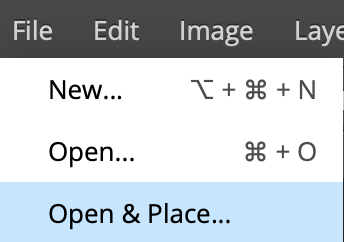
- Continue using File -> Open and Place to insert your other images
- Use the move tool
 to move images into their correct location

How to Make Objects Smaller or rotate them
- Go to Edit-> Free Transform to scale and rotate objects as necessary
Note: Do not make objects larger. This will cause them to pixelate and become blurry.
How to Duplicate Objects
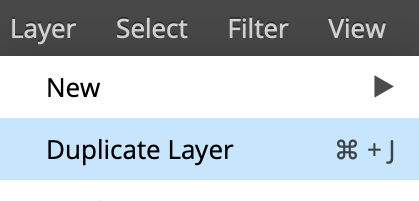
- To duplicate an image, Go to Layer-> Duplicate Layer:
How to save your images:
- Click File -> Save as PSD (This will automatically save your image with layers to your downloads folder)
- Upload the PSD to the Google Classroom Assignment
